Sampling Instructions

Oil diagnostics is a process that functions like a chain of interconnected stages. Every “link” matters — from the moment the sample is taken to the interpretation of the results. Breaking any of these links can completely distort the diagnosis and lead to incorrect maintenance decisions.

Oil Sampling

1. The Oil Diagnostics Chain – The Complete Process

Oil diagnostics is a process that works like a chain of interconnected stages. Every link in this chain matters — from the moment the sample is taken to the interpretation of the results. Breaking any of these links can completely distort the diagnosis and lead to incorrect maintenance decisions.

Effective oil diagnostics relies on the following stages:

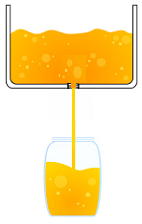
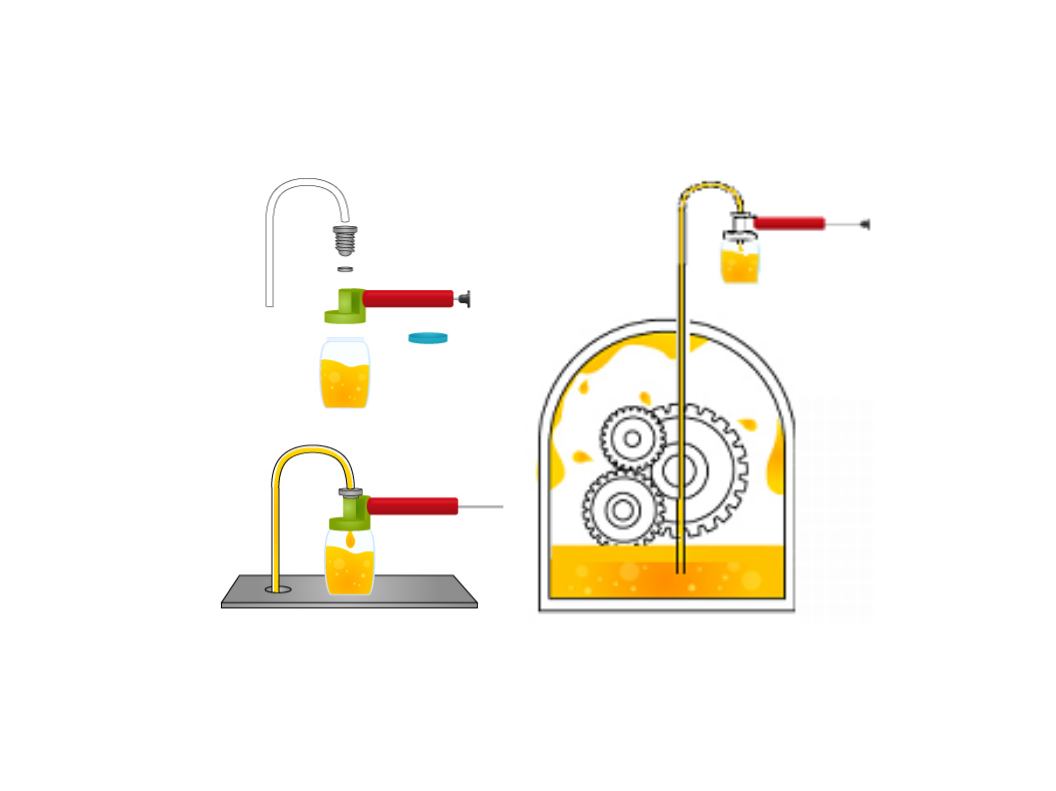
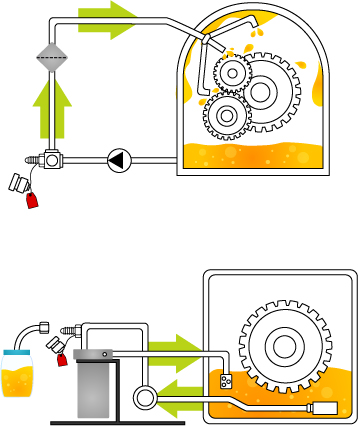
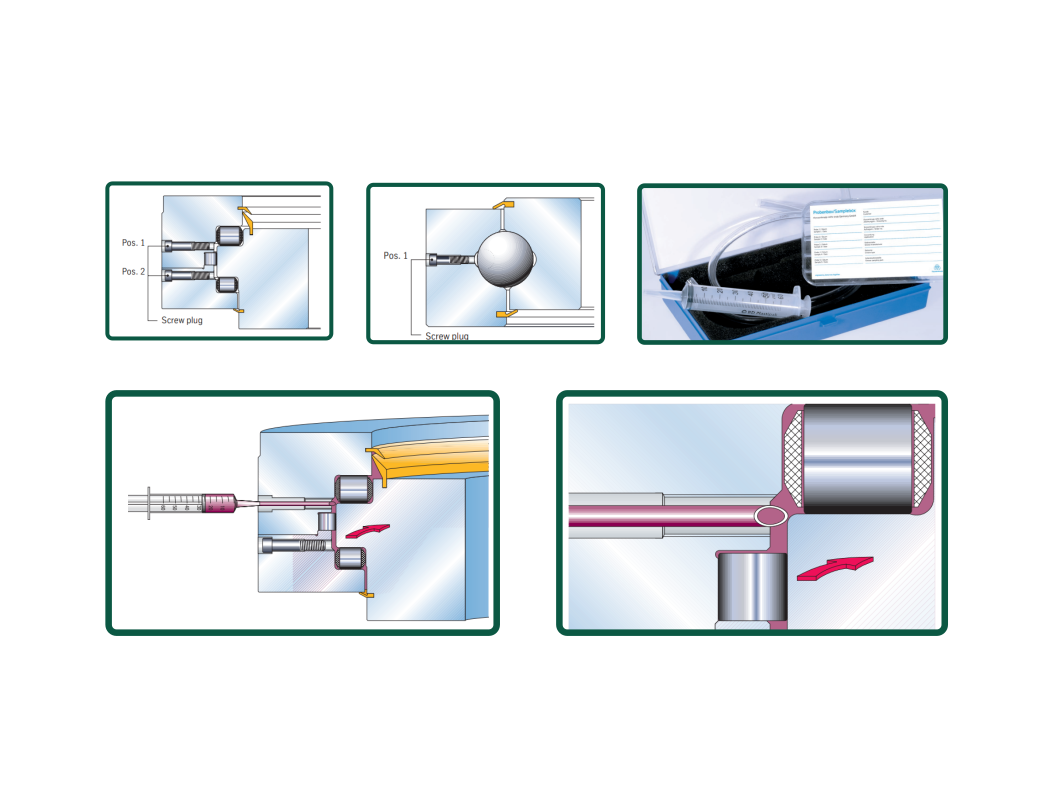
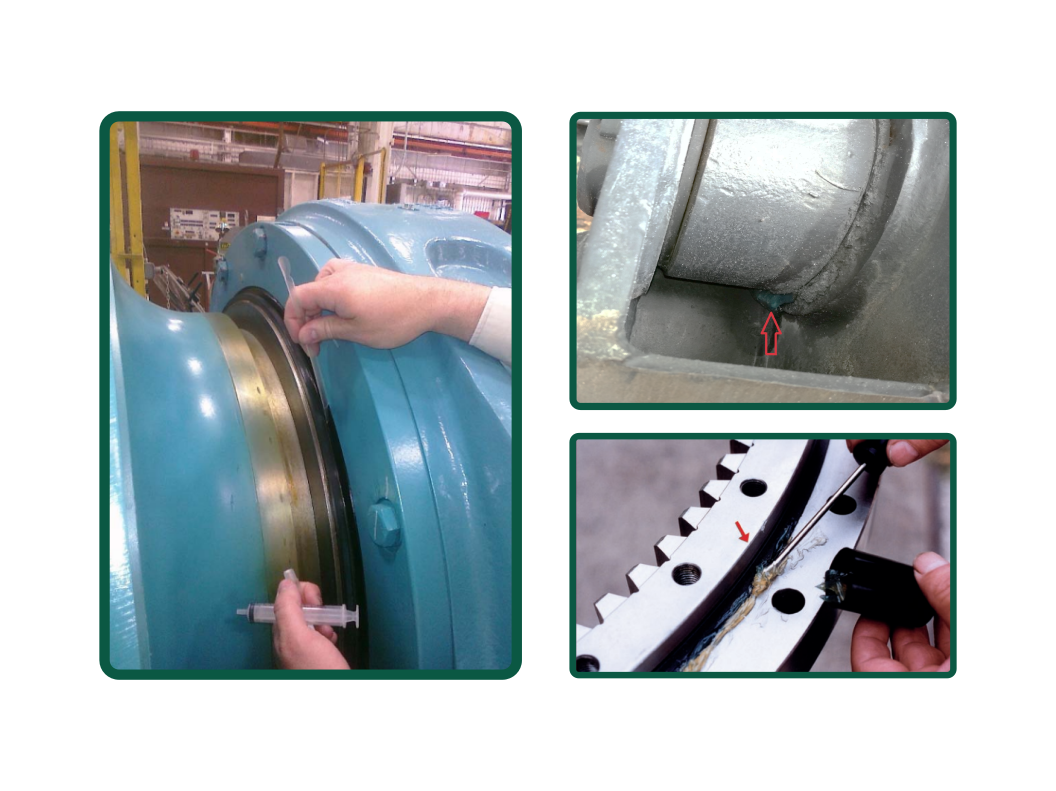
  • selecting the correct sampling point,
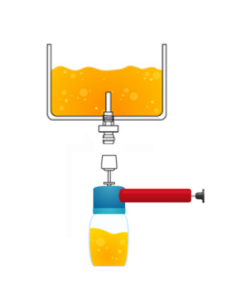
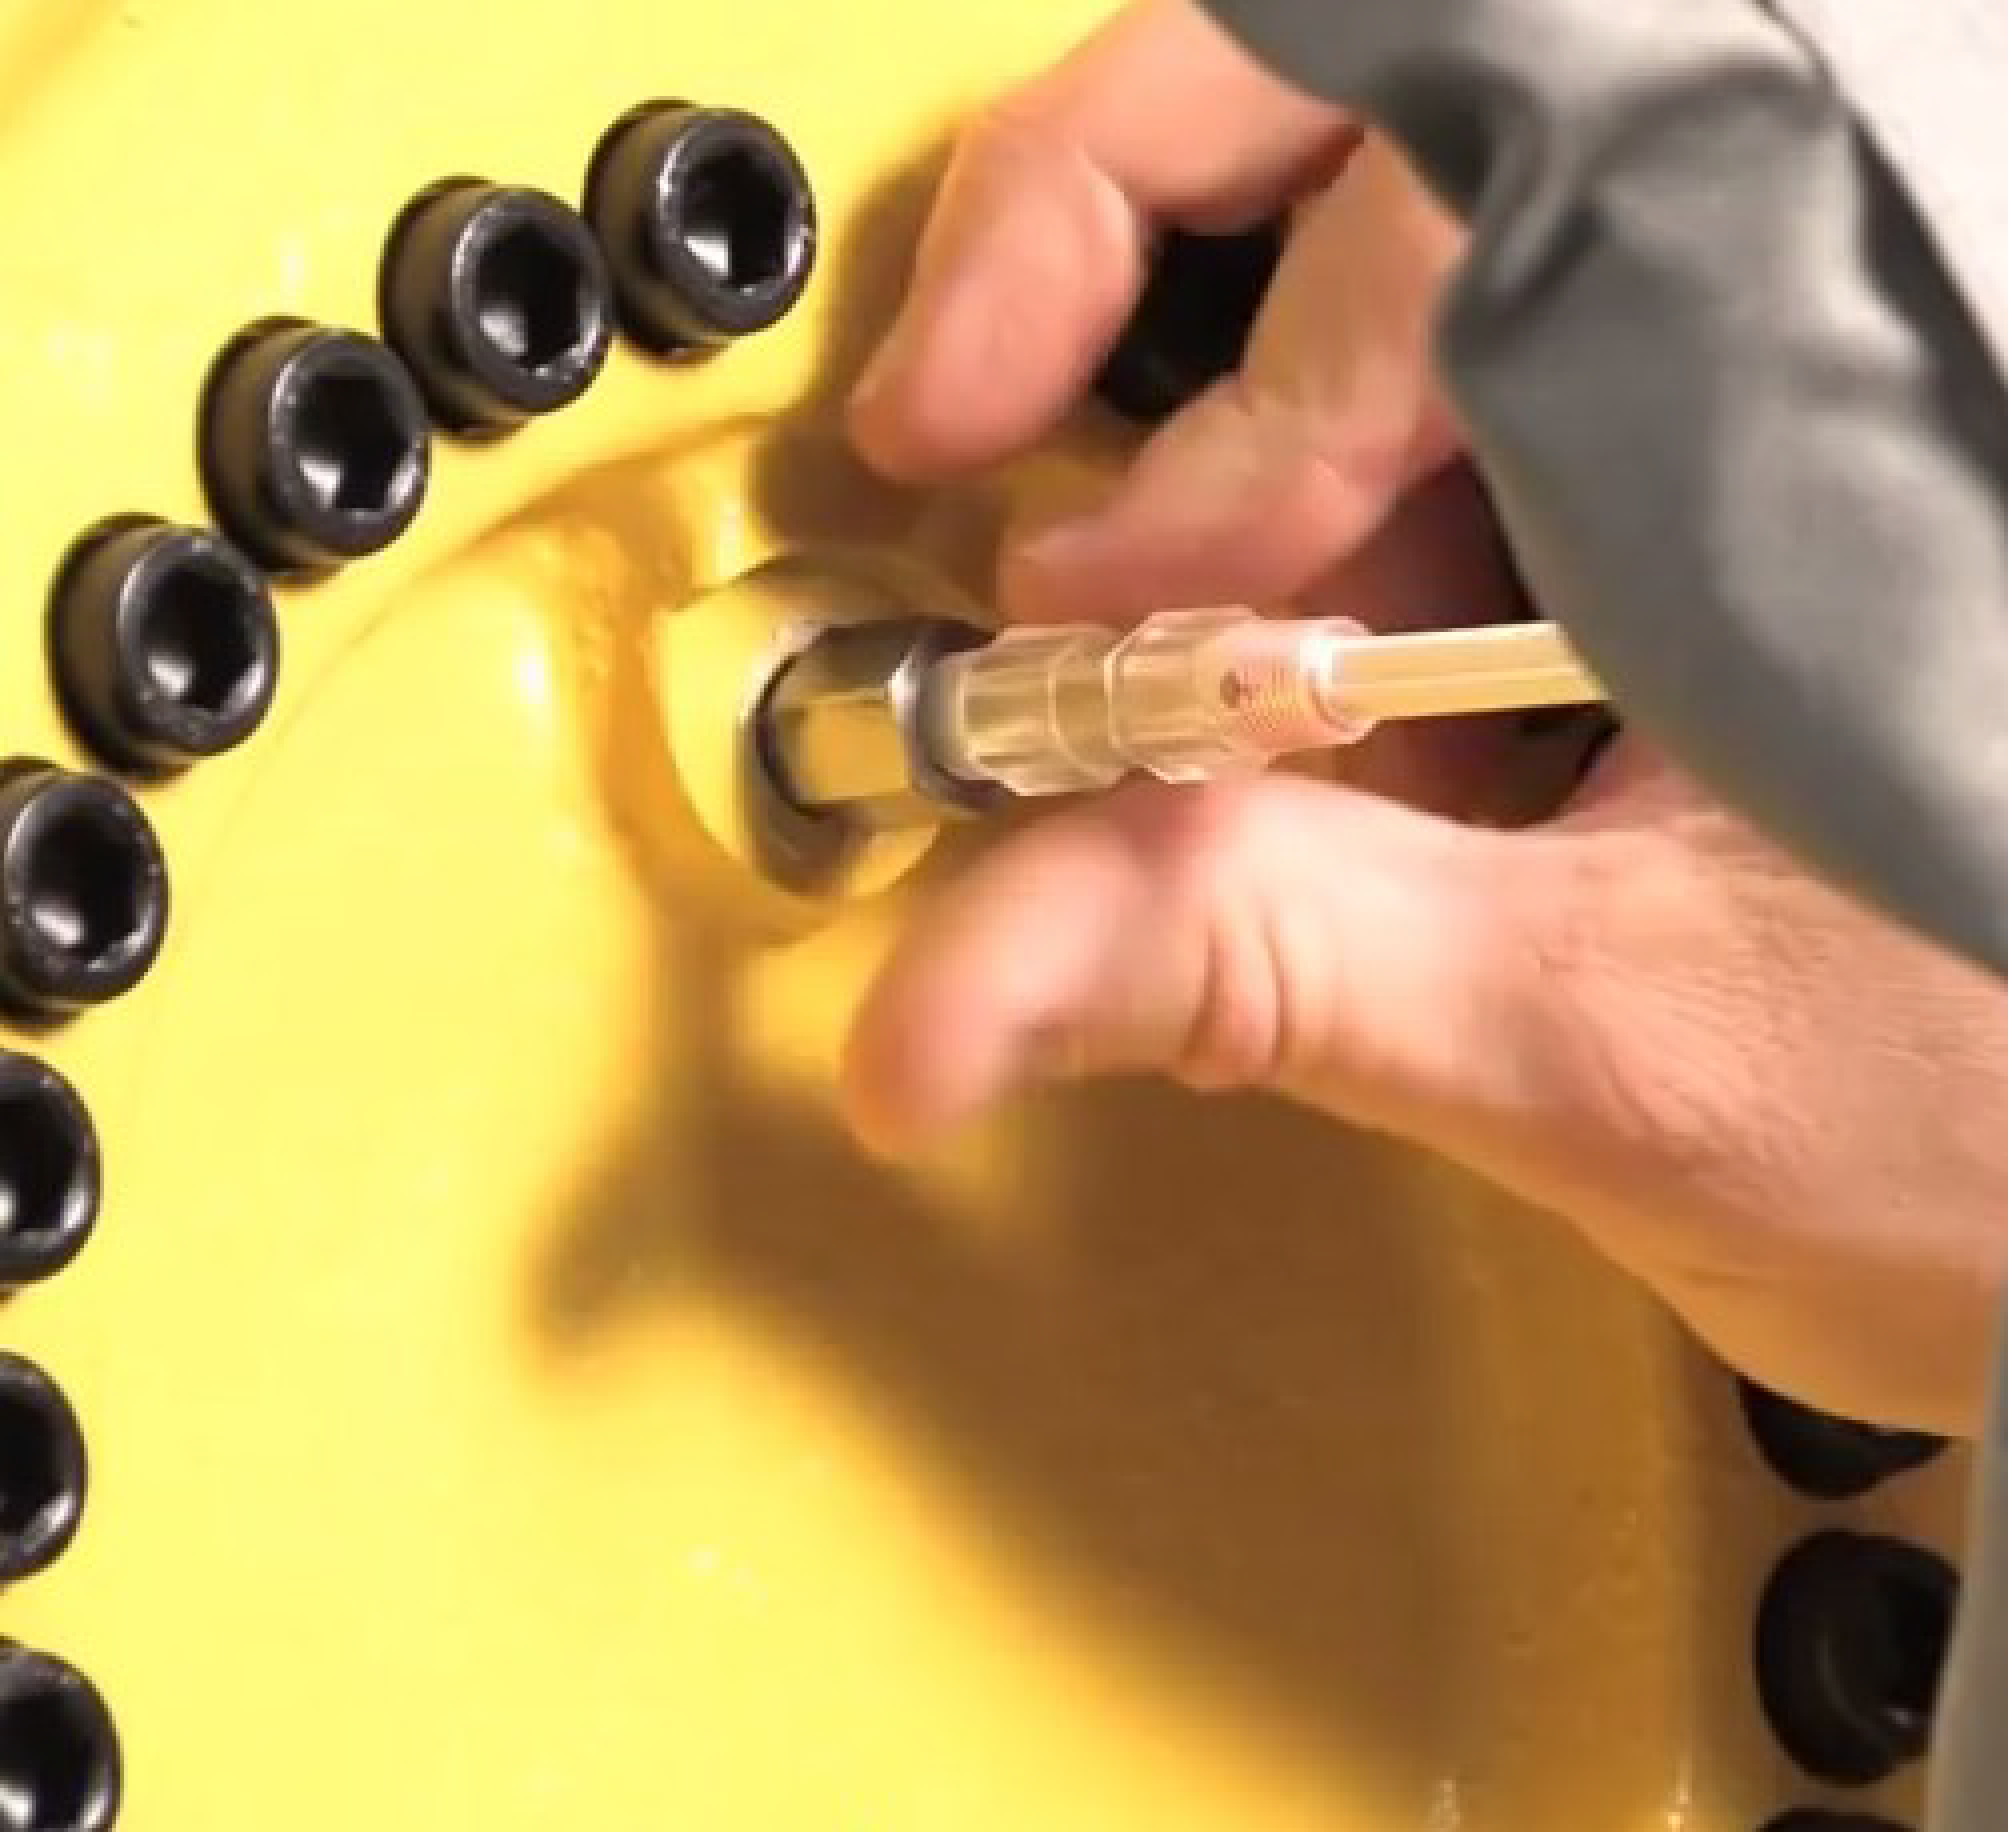
  • following the proper sampling procedure,
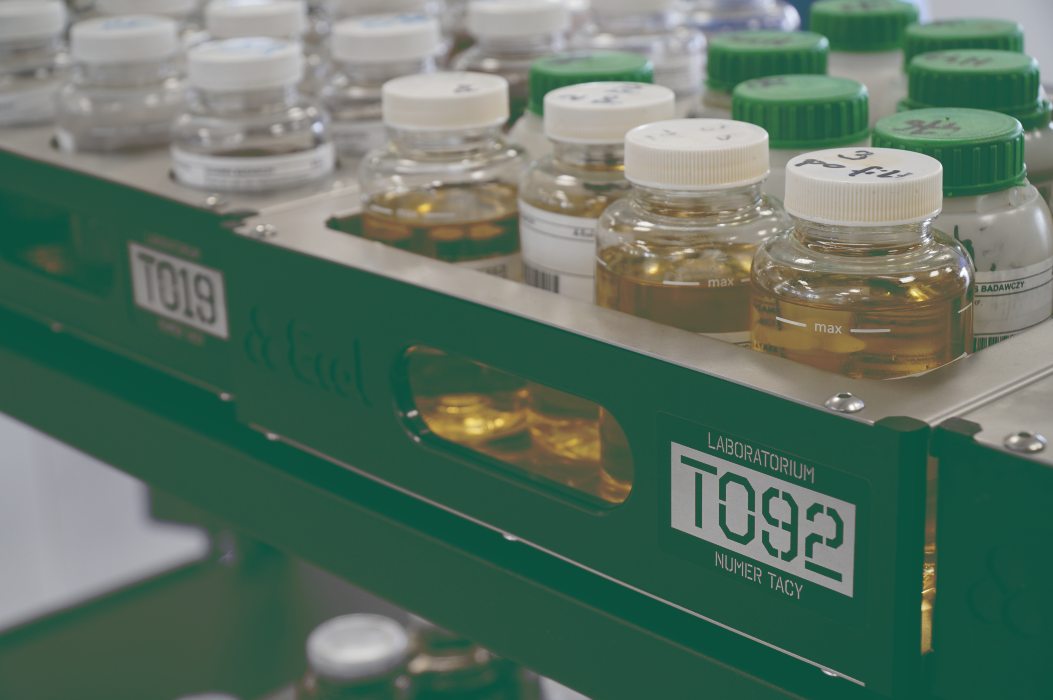
  • ensuring the cleanliness of containers and equipment,
  • delivering the sample to the laboratory without delay,
  • choosing the appropriate test package,
  • proper sample preparation in the laboratory,
  • using high-purity reagents and solvents,
  • employing analytical equipment with a low level of interference,
  • applying the appropriate standards and calibration procedures,
  • involving competent and properly trained laboratory personnel,
  • interpreting the results within the context of the specific application.


Breaking the Chain – Consequences

The absence or failure of any link in the chain may result in:

  • incorrect diagnoses,
  • inappropriate maintenance decisions,
  • unnecessary service costs,
  • loss of investment value,
  • increased costs associated with failures and downtime.

2. Why Do We Collect Oil and Grease Samples?

Regular sampling is a fundamental element of preventive and predictive maintenance. It is carried out to:

  • comply with the recommendations of machine and lubricant manufacturers,
  • fully utilize the performance potential of oils and greases,
  • support decisions regarding continued operation until the next planned shutdown,
  • verify maintenance activities such as filtration, oil changes, and overhauls,
  • identify the causes of abnormal machine operating conditions,
  • analyse post-failure samples,
  • assess supplier quality,
  • support audit processes (e.g. insurance-related audits).

3. Why Is the Sampling Procedure So Important?

The sampling stage is the most critical part of the entire diagnostic process:

  • this is where most errors occur,
  • errors made during sampling cannot be corrected in the laboratory,
  • the representativeness of the sample determines the quality of the diagnosis,
  • requirements for sample quality continue to increase, even though sample volumes are becoming smaller,
  • the costs of failures, downtime, and repairs continue to rise.


4. Sampling Equipment and Accessories

Sample Containers

Sample containers must be selected according to the type of medium and the required scope of testing:

  • appropriate volume (depending on the range of analyses to be performed),
  • filled to no more than three-quarters (¾) of their capacity,
  • transparent plastic containers (PTE) – allow for quick visual inspection,
  • glass containers – offer high cleanliness but are more fragile,
  • metal containers – used, for example, for transformer oils,
  • opaque containers – intended for samples sensitive to light exposure.

Vacuum Pumps

  • enable convenient sample collection,
  • can be used with or without valves,
  • require maximum cleanliness of all components (probe, tubing, pump),
  • require flushing of “dead zones” before sampling.

Valves and Sampling Ports

Recommended sampling methods:

  • needle and ball valves,
  • “push-button” valves,
  • sampling ports for probes,
  • minimess systems,
  • minimess fittings with pressure reduction,
  • factory-installed systems or retrofitted in existing systems.


5. Flushing – A Requirement for Sample Representativeness

To ensure a reliable sample, contaminants must be removed from so-called dead zones, such as:

  • valves, ports, and adapters,
  • probes and tubing,
  • components of vacuum pumps.

Rule: flush a volume 5–10× larger than the dead zone volume.

6. Sampling Conditions During Operation

Recommended conditions:

  • the machine is operating under normal conditions,
  • nominal load,
  • oil in circulation,
  • operating temperature,
  • sampling within approx. 30 minutes after shutdown (if the oil is still in motion).

Conditions to avoid:

  • sampling from a switched-off machine,
  • operation under partial or no load,
  • a cold system.

7. Sampling Point Location

Best locations:

  • areas of active (turbulent) flow,
  • downstream of friction zones (gearboxes, pumps, actuators),
  • upstream of filters.

Avoid:

  • dead zones,
  • laminar flow areas (straight pipe sections),
  • reservoirs/tanks (if another option is available),
  • points downstream of filters,
  • oil sumps (if there is no circulation).

Sampling Methods

Sampling from drain port A (recommended)

  • dedicated sampling port
  • use of a vacuum pump
  • high sample representativeness


Sampling from drain port B (not recommended)

  • non-representative sample
  • does not reflect the entire system


Vacuum Pump and Probe Sampling

Used when:

  • there are no sampling valves,
  • there is no oil circulation,
  • sampling is taken from reservoirs.

The probe should be immersed to approximately half the oil level.


Sampling from Oil Sumps / Intake Systems

Used, among others, in:

  • diesel engines,
  • gearboxes,
  • compressors.

Sampling from the line upstream of filtration provides better representativeness.


8. Sampling Frequency

The frequency of testing is influenced by:

Economic factors:

  • value and criticality of the equipment,
  • downtime and repair costs,
  • safety requirements.

Operating conditions:

  • dust and humidity levels,
  • temperature, pressure, and load,
  • vibrations and mechanical stress,
  • chemical contamination.

Operational factors:

  • machine age,
  • oil age,
  • history of oil property changes (trends),
  • manufacturer recommendations and standards (e.g. ASTM D4378-92),
  • maintenance experience.

Grease Sampling

Equipment and Accessories for Grease Sampling


Grease Sampling from a Robot

  1. Switch off the robot.
  2. Remove the drain plug.
  3. If necessary, install an adapter.
  4. Screw the Grease Thief into the opening.
  5. Pull the Grease Thief plunger to fill it with grease.
  6. Seal the Grease Thief using the yellow cap.

Grease Sampling from a Robot (Grease Nipple / Zerk Fitting)

  1. If possible, position the robot with drain points facing downward and switch off the power.
  2. Remove the grease nipple (zerk fitting).
  3. Screw a plastic syringe into the threaded opening and collect the sample.
  4. Transfer the grease into the Grease Thief and fill it by pulling the plunger.
  5. Inject grease to fully fill the Grease Thief.
  6. Close the Grease Thief and place it in the transport tube.
  7. The Grease Thief requires no further handling; it is ready for analysis in accordance with ASTM guidelines.


Grease Sampling – Syringe and Probe

Grease Sampling – No Sampling Points Available

If the bearing has no dedicated grease sampling points, the sample should be taken from the area near the seal. The area around the grease fitting should be thoroughly cleaned beforehand. The sample should preferably be taken from the main bearing operating zone and/or from a location 180° opposite to it.

When relubricating through a prepared grease fitting (without rotating the bearing), the first portion of grease emerging from under the seal lip is collected as the sample. A sufficient sample volume is approximately 0.3 cm³.

Extreme care must be taken during sampling, as contamination of the sample may distort the analytical results.


Contact

Do you have any questions about diagnostic services and methods for collecting oil and grease samples for testing?

Contact us – we will be happy to answer all your questions.

Head of the Diagnostic Services Sales Office

Katarzyna Paryż

Diagnostic team

Certified diagnosticians – contact regarding test results

Laboratory team

Laboratory Office – contact regarding samples